This week I have completed my animation and after speaking to a variety of people I am happy with the outcome, I now have to write my evaluation and then I will be able to hand in.
Adrift - Stacy Straub from Stacy Straub on Vimeo.
Above is my final animation uploaded to Vimeo.
I have found this project to be a great experience for me and I was able to explore an animation technique that I had never used before. Even though I worked on my own on this project I still feel like I learnt a lot and also gained confidence in After Effects.
This week I have spent tidying up all my pieces of work such as blog posts and writing up my evaluation. I was surprised that I was able to have lot of extra time at the end of this module and I felt that throughout the module I was able to manage my time really well.
For the future, this module has helped me to consider mixed media animation instead of sticking to just one at a time. My goals for future projects now is to be able to collaborate with others as I have found that through looking at other people's projects that when you work as a team you are able to achieve more.
Friday 9 December 2016
Sunday 4 December 2016
Production Diary 9 - Adrift - (28/11/16 - 4/11/16)
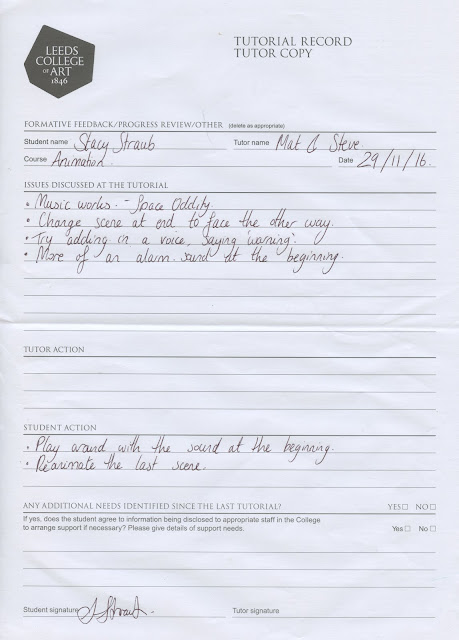
Above is my feedback sheet from a group crit I did earlier in the week. From this I found that people liked my choice of music and felt that the sound worked well, however I could add possibly a warning voice to add to the effect. It was suggested that I reanimate one of the final scenes as it had a little bit of a strange cut and didn't flow as well as it could.
So, taking these points on board I instead changed the layout of my edit instead of reanimating the whole scene as I felt that if I were to do a fade to black it would work a lot better than a straight cut. This way it could suggest the passing of time instead of him continuing to float in a different direction.
I also found a way to create the illusion of stars in space with After Effects, the effect being called CC Starburst, which really helped my animation come together! Below is a preview of what it puts over the animation and you can change the speed, direction, spacing and colour so that it fits.
I also picked my font and title sequence this week which was fun using the CC Starburst again.
I chose a very simple but strong font for my titles as I wanted it to be easily readable, but still in keeping with my theme.
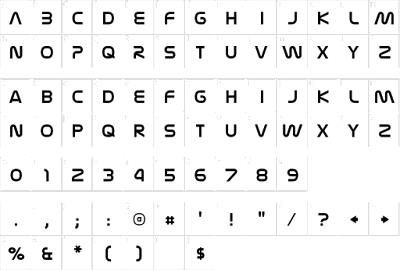
Above is a traditional space font, however I preferred using a font that is more sharp than rounded. Below are the different fonts I looked at.
Even though these were space fonts, they just seemed to look unprofessional to me. I did try and export a title sequence with a space font but because my animation has quite a sombre feel to it, it didn't seem to fit very well.
Friday 2 December 2016
Comparing Papercut to Other Mediums

With my idea, I wanted a paper/handmade feel to my animation, however I could have used other mediums to create the same effect. South Park, as an example to look at, uses Maya to create their animations but in comparison to using actual paper you can still see that it looks digital. The advantages of using Maya are that you only have to do key poses and the inbetweens are done for you, which creates smooth movement and flexible control over the model.
On the other hand, I chose not to use Maya as I felt it would loose the effect I wanted to create. The technical limitations that I faced by using a stop motion method was that the camera was stuck in one place and I found it hard to create different shot types. If I had used Maya this would have been easier to tackle and in South Park they are able to use lots of different shots as they can reuse the same models again and again. As I only had one main model that I had extra different parts for this was harder for me to do.
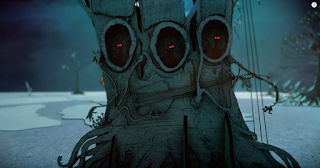
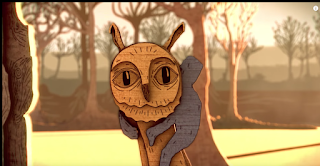
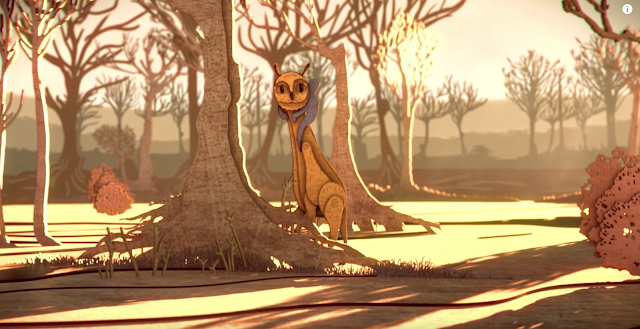
Looking at another animation from Aardman Studios they created this music video 'The Staves - Winter Trees' that follows the papercut style. This shows how it can be beautifully created using Maya, which I didn't know could work so well. I feel that if I were to redo this project it would be nice to use Maya as they were able to get the effects while still creating depth in their backgrounds. Below is an example of how depth can be lost with cut out as the mug is flat on the table, although it does add to the charm of the animation. This may be a limitation of cut out animation, though you can use these actually to your advantage by creating an effect that other mediums would struggle to produce.
After looking at an interview with the makers they explained 'The challenge of doing such a piece in four-five weeks meant we decided to make it all in CG, which gave us huge flexibility to use a wide range of techniques: from 2D drawn animation and artwork to sophisticated in-house coding in Maya to get all the assets together'. This suggests that possibly CG and Maya would have been a quick option if you know exactly how to use it efficiently, however as someone who hasn't had much experience with it, it may not have been the quickest medium to use. I now understand that 3D does have a lot of potential and can pretty much create every effect, but it still cannot capture the jittery handmade feel of papercut stop motion animation.
References
Egor Shumilov, (2015), 'Reindeer Sweater (Paper Cut Out Animation)'. [Online Video]. 1 September 2015. Available from:"https://www.youtube.com/watch?v=d6OUPBEryXk". [Accessed: 2 December 2016].
Digital Arts Staff, (2013), 'Interview: Karni and Saul tell us about animating an unsettling forest for The Staves' Winter Trees music video'. Available: [http://www.digitalartsonline.co.uk/news/motion-graphics/aardman-animates-unsettling-forest-for-staves-winter-trees-music-video/]. [Accessed: 2 December 2016].
Subscribe to:
Posts (Atom)


