Wednesday 29 March 2017

Thirsty Planet - My Scenes and Submission!

Within this project we decided to split the scenes between me, Rosie and Dan so that the work load would be equal and we would each get an even chance at animating.

Below is the first ever animation test I did of the baby elephant, even though I wasn't getting to animate the baby elephant. I made this character so I wanted to animate it. I found that the characters worked so well as papercut puppets and this just ensured me that we had made the right choice in choosing this medium!


Below is the first scene I animated with Rosie and Dan, we decided to animate this first scene all together so that we could experience the animation of the puppets together as well as understand how we could all work together to get a similar animation style. If we were to just go off and animate all our scenes separately I thought it would be harder for us to work together. This was one of the longer scenes so we felt it was the best one to choose!


Below is a scene that I animated of the adult elephant's face, and this was quite a hard scene to imagine and the problems I faced with this was that every time I needed to move the puppet, which was huge, I had to pull up and put down every but of blue tac. This made it especially hard as the puppet was large and had a lot of blue tac holding it down! If I were to do this again I would had made this puppet a lot smaller as large papercut puppets do not work well!

This first one was a initial test


This was the final scene I put towards the edit


Finally, I animated the jug scene which involved the particles of water! I love animating the water and I felt it had a really lovely effect once it was animated. From this I have gained that using papercut and water is actually a great idea, as originally we felt it would be really hard to recreate water and that our idea was quite hopeful.


After all the scenes were collected and we got the final landscape design from the illustrator it was time to put it all together. There were a few complications with the backgrounds in this project as the illustrator kept sending files that were pixelated when enlarged, and she couldn't figure out why. The only other complication that I felt with working with an illustrator was that I was helping on the concept art for this project and sent her lots of designs for possible leaves and extra details and she didn't use any and just used her original design. I feel that for future projects it would be better to have more working as a team around the development of an idea rather that going for the first idea.


Editing, yay! Here we put together the soundtrack that I got from Harry Laird, and it fit perfectly onto the scenes. We also keyed all of the scenes to get rid of the green scene and finally just did some polishing and colour correcting. Finally, we were ready for submission a day early before the deadline. So, next we submitted and sent it away... woo!


Below is the final animation! I am so proud of it and everyone who worked on it and I feel like we did an amazing job no matter the outcome of the competition.

Thirsty Planet from Stacy Straub on Vimeo.

Applied Production Diary - (27/3/17 - 2/4/17)

This week I got my wool roving and needles in the post so it was time to start making my puppet! As Emma was the main puppet maker she had already tested the needlefelting into the foam and it worked fine, so I didn't actually have to test it before starting. She also tried needlefelting into polystyrene, which didn't work well. After watching tutorials on YouTube and watching Emma test the materials I began making my puppet.


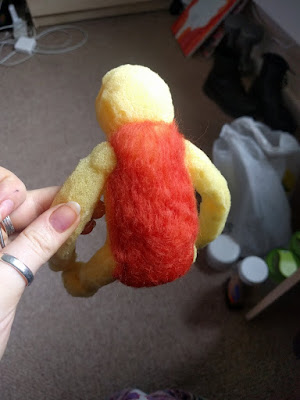
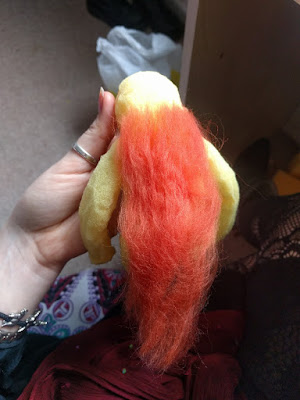
This was my first time needlefelting a puppet and I just went with it, putting the wool where I needed it to go and poking it repeatedly with the needle. Above is the first try of felting the back of my puppet, I started on the back as this is somewhere where there is room for error.


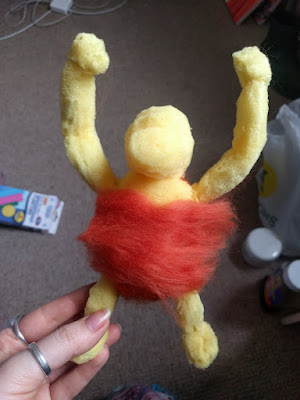
Here is me needlefelting the front of the puppet, this took around 2 hours to needlefelt the back and front of his body, however it didn't feel like that long!


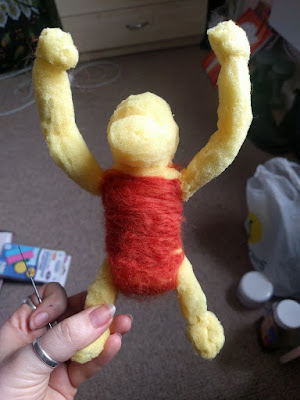
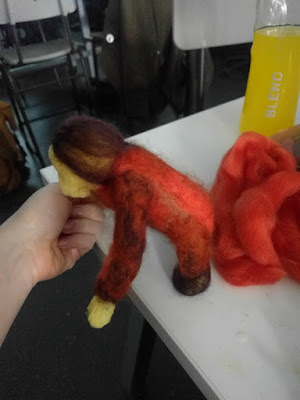
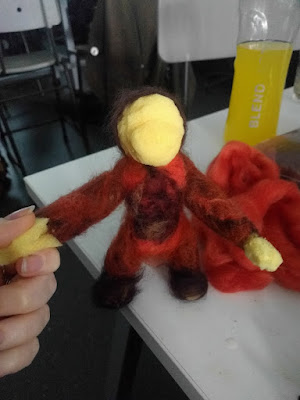
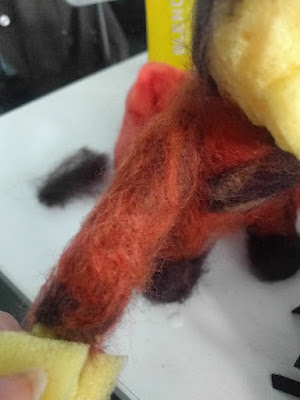
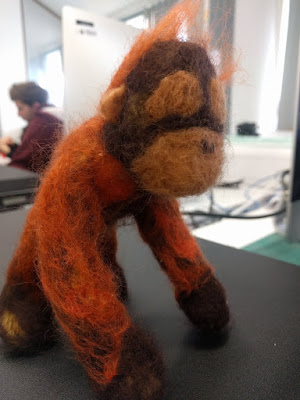
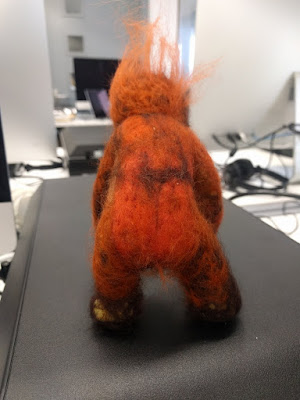
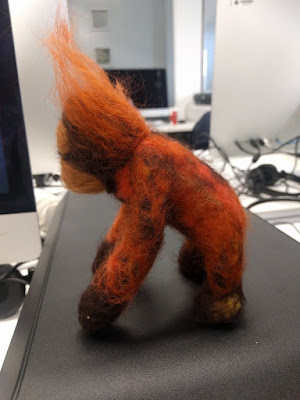
I got a little carried away after this point and forgot to take pictures so here is my progress where I added a dark layer of felt before adding a thing orange layer over the top to create depth in his fur. I love the way that these layers turned out and I am nervous to start on the head! I found it very hard to needlefelt the hands and feet, but I figured out that if you twist the felt tightly around the hands and feet while poking the needle upwards and downwards through it then it stayed. Before that I was randomly poking the felt and not holding it and this made it quite loose.


Finally below are where I am up to at the moment! I aim to have to puppet ready for the 1st of April so that we can start animating in the Easter holidays. I am really happy with how he has turned out and he is so cute!


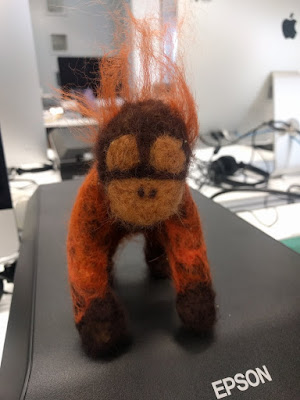
All I need to add now is some doll eyes that I am going to order from Ebay, and I am going to get a pack of them so that I can use them in future projects too! I love how the needlefelting has turned out and I am definitely going to use this technique for other animations, especially because I have had so much fun making this little orangutan! I can't wait to do an animation test on this little guy.


Sunday 26 March 2017

Applied Production Diary - (20/3/17 - 26/3/17)

This week I have worked on the pitch bible as I am waiting on my wool roving and needles to come in the post before I can progress with my puppet. As I have completed my pre-production work I took it upon myself to start creating the pitch bible and did so by taking the Adventure Time pitch bible and using that as an example. Even though we aren't creating a series, I still found it useful to look at how they laid out the narrative and the characters, also I loved how stylised it was! I am the only person to work on the pitch bible in my group but I feel this is a good thing as if we were all separately doing pages it wouldn't look as similar and the pages would vary in style. I actually really enjoyed writing little snippets about the characters and coming up with little details around them that might not be present in the animation but are still good to have to develop the character as the animator of them.


Below are some of the pages I have completed, I made them on Photoshop so that I could get some nice half transparent layers with the leaves and make the pages look really nice.


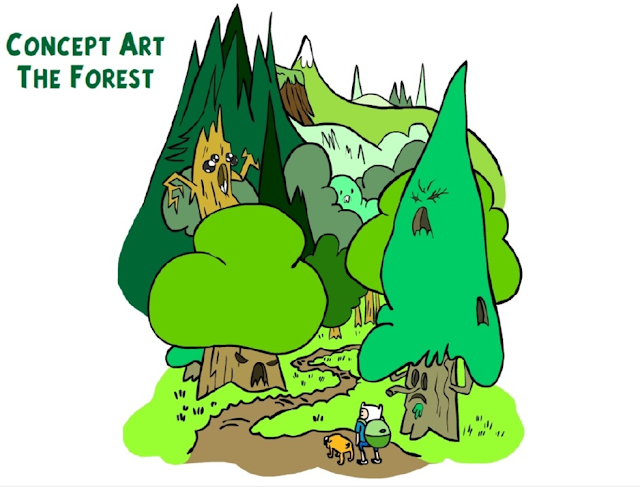
This is currently the cover page of the pitch bible, I also included a greyscale/transparent version of our studio logo to make it look more professional instead of just writing our names. I used the digital drawing of the tree done by Emma in the background to tie it all together which I felt was a nice touch!


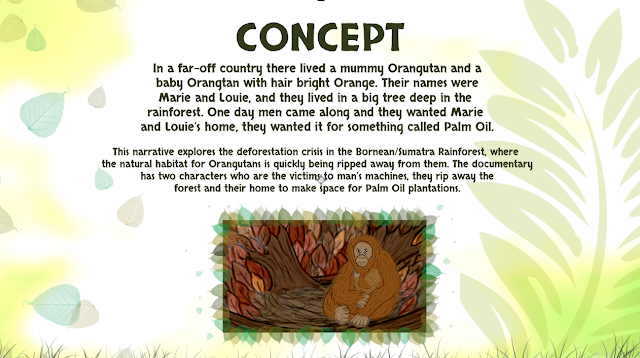
Here is the concept page that goes over the narrative in larger font in the style of the animation, which is primarily for children and tells it in a fairytale kind of way. Then I included a smaller paragraph below that, that outlines the more technical details of the narrative, this is just to give people a sense of the facts behind it.


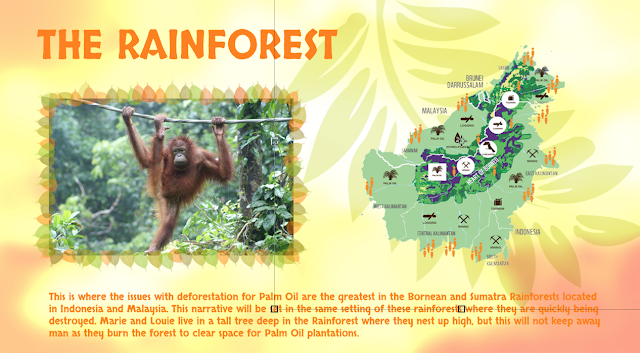
This page is around the setting of the animation, but I need another one of these similar to the Adventure Time one that goes over the concept art, whereas this page is just the factual information around the rainforest that this issue is taking place. I also included a nice map that outlines the rainforest in correlation to countries such as Indonesia and Malaysia.


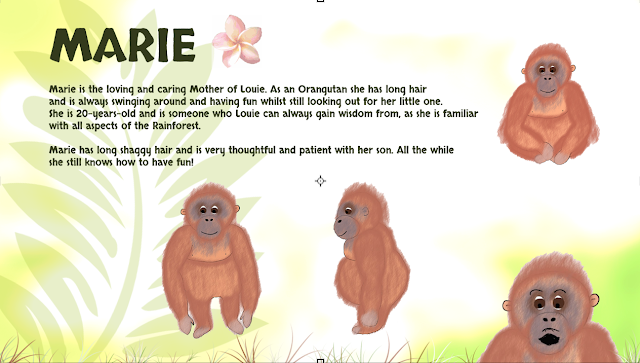
Marie's page is filled with the illustrations done by Emma, which are quite cute! I also added in a little flower so you start to get the feeling of an innocent female Orangutan. I particularly like the bottom corner illustration of Marie, it brings a little fun to the page.


Louie's page is filled with my illustrations of him as he is my character that I am designing and creating! Clearly he is my favourite character as I had quite a lot to write around him. As you can see all of these pages have a nice house style, which is really effective with a pitch bible.


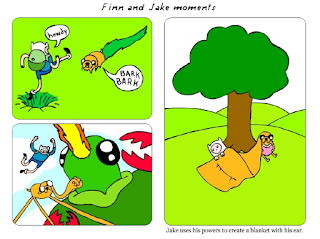
Finally, this is the Marie and Louie page similar to the page above in the Adventure Time bible, where it shows 'Finn and Jake Moments'. I really like this idea so I made a page with the animatic images/ storyboard images to create a page that shows Marie and Louie together and even though these are not the final designs it's nice to have a page that shows them together to get a sense of the sizing of the characters as well as the relationship they share together.

Sunday 19 March 2017

Applied Production Diary - (13/3/17 - 19/3/17)

The week was the pitch presentation for our Palm Oil animation and it went really well, we managed to make the presentation last the full time while still leaving time for questions at the end. After carrying out this pitch and seeing everyone else's progress it made me feel really confident that we were doing well as we were actually ahead of most other groups. The feedback was really useful as people suggested adding in a gun shot noise so that it's really clear that the Mum dies, as well as taking photos of the main tree, green screening and then putting the background trees in post.

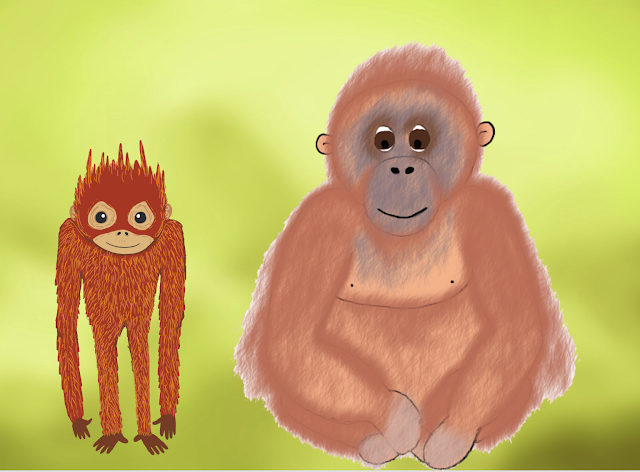
Mine and Emma's digital characters together, and even though they don't look very similar in style this won't matter when we come to build the puppets they will be built out of the same materials which will make them look the same.


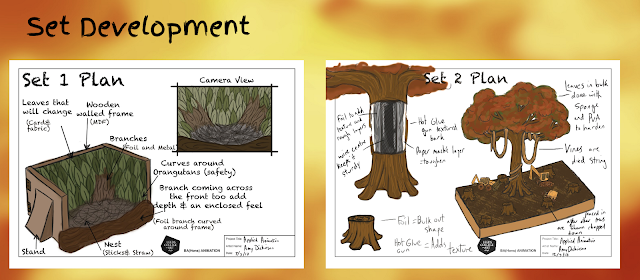
Here are Amy's fully developed set plans and I think it's going to work really well with mine and Emma's puppets.


Amy also made a really cool animatic that captured our animation perfectly! Below is the animatic, where I recorded a ukulele track to go with it. Looking at the animatic now I think the final song will be recorded with guitar instead of ukulele as this will make it more serious and less happy sounding. The lyrics really bring the song together which will be better when it's finally recorded, however this was just a temporary song for the time being.


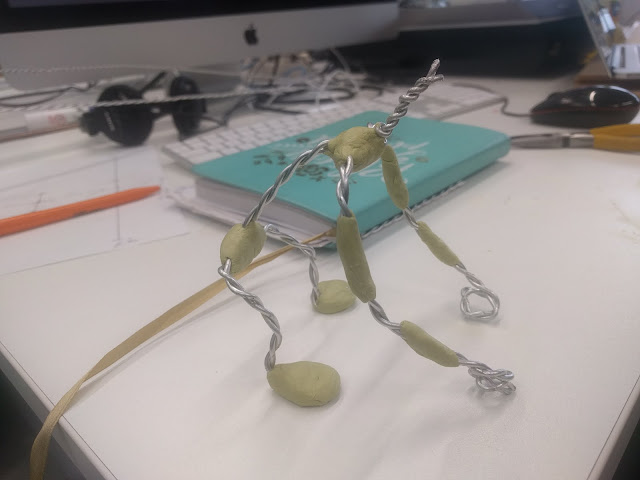
I also started making my puppet this week, which was really exciting! I had to get Emma to guide me a little as I had forgotten a lot of what we did last year to make wire armatures, but I got there in the end. I also went down to the metal workshop to get some bolts for the feet of my character and this way he will be magnetised to the set.


Basic wire armature before wrapping the wire


Wire wrapping around 'hips' and 'collar bone'


Fully wrapped wire armature


Bending feet to put washers in for magnets


Bent hands and feet


Size comparison in the set


Milliput!!!


Milliput fully on armature - waiting for it dry


Armature with sponge head


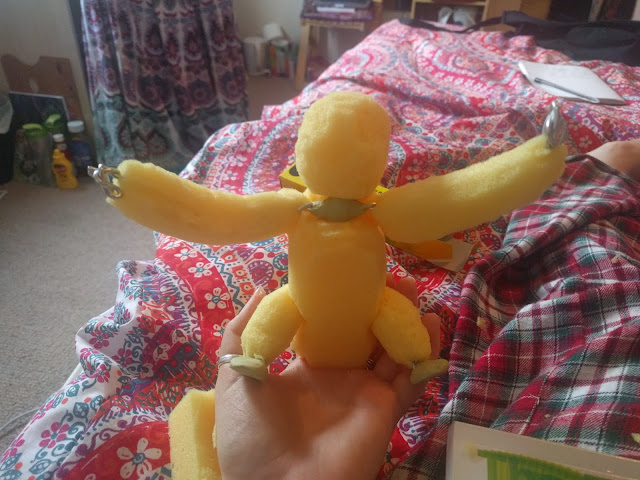
Sponge arms and legs attached!


Before his trim, looking a little like a Gorilla at this point


Final foam trim, now to needle-felt him!


Sunday 12 March 2017

Applied Production Diary - (6/3/17 - 12/3/17)

This week has been full of finalising plans and my character digital, I made him digital so that I could use the colours from the colour palette and I thought it would be good practice even though I will be making him as a puppet. Our group has been doing really well and keeping up with all our different roles and tasks and I'm really happy with how we have been progressing.

Below are all my final designs and even though my character is quite different looking to Emma's, I dont think it matters too much at this stage as we will be creating them both in felt and the main differences are that we used different brushes in Photoshop.


COLOUR PALETTE


Below is the final colour palette sheet where I pick out all of the colours and how they are going to be used in our animation. My next steps within this is to find wool roving for the characters that matches these colours the best I can. I used images from the storyboard so that it could easily be visualised.


I also created a budget this week as next week we want to start on creating our characters/set, this means that looking at the budget and materials needed will enable us to gather everything and start modelling much faster. As we are creating a stop-motion animation it's really important to plan and budget due to the need for materials unlike other animation mediums. As the producer in this project I have the role of sorting things out like this and so far it has all been running very smoothly. Even though the prices are a little high for the animation, we are going to split the price and I have tried to overestimate the prices for some items, which will mean it might be even less. 


As we are starting to create our characters next week I have also made a puppet diagram that I can follow! This is the first proper puppet design I have ever made and I think it went quite well, measuring it all out and figuring out sizes for wire has been challenging as I have to consider the size of Emma's character whilst still making mine big enough to be able to animate. I also had to consider my previous research into the Orangutan skeleton before making this design so that it was in the correct proportions. This also helped doing this before creating the budget as it helped me realise how much of each material will be needed.

Finally, this week we have been putting together our pitch presentation for next Tuesday, which I have made a Google Slides document and shared it with my group so that we could all put our work into it. I got Emma to create backgrounds for it as she had finished her pre-production work quite early, so she created a series of backgrounds that change colour which is fitting to our animation as this happens in our narrative too. I looked at lots of pitches and they all seemed to have something relative to the idea in the overall design and feel of them so I felt it was very appropriate and effective! Our next steps are now to meet up on Monday a day before we pitch and go through it all together and write into the speaker notes who will be saying what and where and hopefully all should go well. Below are some of our slides and it shows how to colours change throughout.


Sunday 5 March 2017

Applied Production Diary - (27/2/17 - 5/3/17)

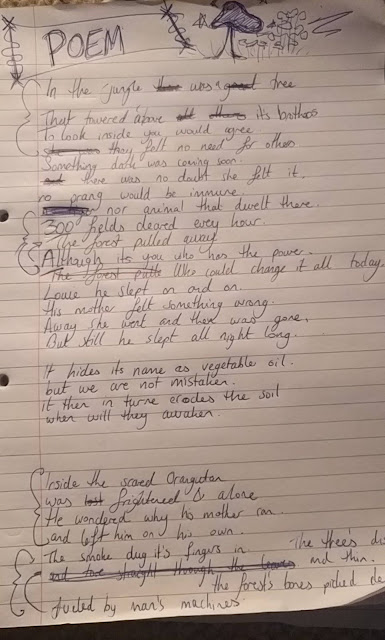
My tasks that I set myself for this study week was to get the poem sorted as well as keep on with finalising my character and coming up with the production logo. First, I began my week by writing out the poem and trying to figure out the best way to get in important facts as well as make it entertaining. Below is this rough sheet of the poem.


I actually began to feel like the poem would work better and be more effective if it was sang, so I started playing around with some chords around the words until I came up with a little song for it. I've never actually performed a song for an animation before but I felt that a young female voice would fit the style of the animation quite well as it's aimed at younger people and we want to to be quite innocent. So, I recorded a rough sample of the song so that Amy and Emma would be able to voice their opinion on whether it should be kept a poem or a song, and they happened to really like the idea of a song and liked what I came up with. I also want to try playing the ukulele instead of guitar as this might suit the animation even more so.


My other task was to create the logo for our production and we settled on the name SEA MOTION, (Stacy, Emma, Amy Motion). Firstly, I looked at different animation company logos that I liked before thinking about the logo I wanted to design and below are a few that I liked.


I liked the idea of a very simple logo with a funky font and below are two of the logos I came up with. Personally, I prefer the logo on the left just because I like the colours and font more, however it depends on what my group feel. I don't want to spend too long on the logo as it's not too important, but we wanted one so that the credits would be easier and if we wanted to submit our animation into a festival then this would make it easier for us to do so.


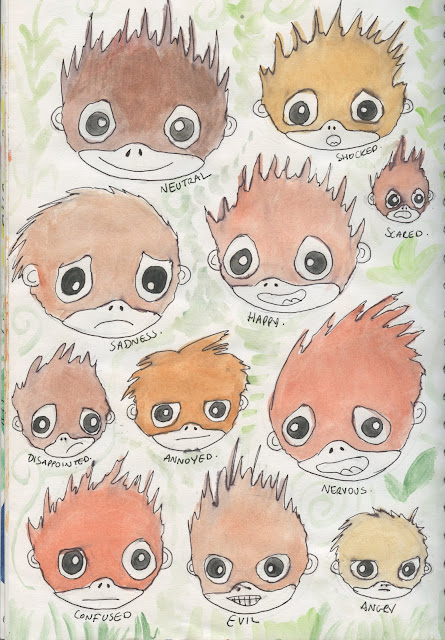
I have been carrying on with concept art and lots of drawings of Louie this week so below are all my sketches that I did thinking about the way he was going to be built.


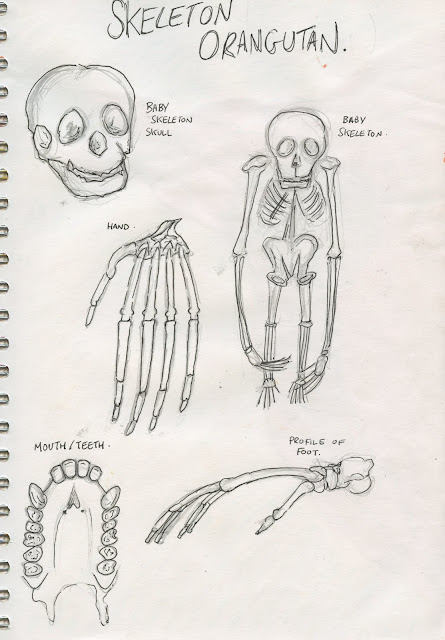
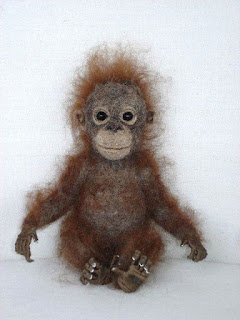
Finally, this week I have been thinking about the final design for Louie and also about the Orangutan skeleton, which is quite weird shaped for a puppet. I have looked into the skeleton of a baby Orangutan and what the hands and feet look like as we want to make the puppet seem a little more realistic. We have also decided that we want to use needlefelting to create the character as we all agree that it looks amazing in animation! To the left is a great example of the kind of puppet you could get from needlefelting. I have been looking into tutorials online as I have never needlefelted anything before but it seems quite easy and what I like about it is that it's very buildable and there's room for error.


An example of needle-felted stop-motion puppets:

Fight! from Marc and Emma on Vimeo.